Monday, September 20, 2010

Precious Memories on Display

I was going through the stash of my "waiting-to-be-used treasures"in my garage, and in one of the bins I found this beauty!
The glass from this picture frame from gone, but the frame itself was in a pretty good condition

Few coats of green paint, bronze glaze, a piece of old wallpaper and some pink tulle and we have recipe for success


A perfect display for my sentimental treasures: my daughters first spoons that we've used so much during her first 15 months and they all have her bite marks.


It took a second to hang it on the wall in her bedroom using my famous flower pin and we are in business
Perfect addition to her room decor! Love it!

Have a great day!


Friday, September 17, 2010

What's in the mail?

Not so long ago, I had a post on my first ATC that I've made, well this post is completely devoted to the first ATC that I have received. It is from the same swap called "Bird ATC". It is so beautiful and very professionally made.
Michelle Carrier is the artist behind this ATC, and you can see that she is a pro. The ATC came in a see-through sleeve, all images overlap so neatly and each flower on the card embellished with red Swarawsky crystals, the back of the card has beautiful floral paper-this card is so precious.

It was accompanied by a lovely Autumn inspired card,

and what touched me the most - a collection of images with vintage kids.

Michelle read my profile on Swap-Bot and she saw that I like vintage images of kids, so she sent me this amazing collection in addition to ATC! Is it sweet or what?! I am so touched. I am going to use these images for one of my next projects, too bad Michelle doesn't have a web site with her work, otherwise I would refer you to see it.
I am definitely into ATC swaps from now on!

Sincerely,

Thursday, September 16, 2010

Not so scary Halloween - Pumpkin Magnets DYI

I like Halloween mainly for a chance to dress up and have fun. This is the picture from the last year Halloween - I was a gypsy and my little one was a Pirate.

But I am not a big fan of super creepy things and since my daughter is only 3 years old, we decided to keep it not so scary for this upcoming Halloween and concentrate on homemade decor for indoors and outdoors that will make us smile.
This is the first project in our series that we call.... "Not so scary Halloween": Pumpkin Magnets.
Materials: lids from the jars (any size will work), orange and black paint , chenille stems in olive green and brown for pumpkin, eyes, magnets and hot glue gun or glue of your choice.
Have your lids ready


Paint them in orange color and let dry.


Fold half of the chenille stem in brown color in a half and twist together to create a pumpkin stem. Using the whole chenille stem in olive green create three loops - pumpkin leaves.
Hot glue those two parts on top of the lid. Glue the wiggle eyes and drawer the rest of the face.


Glue down the magnet to the back of the lid - make sure it projects forward enough in order to hold it. I've used folded craft foam sheet to add for the difference. You are done!

After you've mastered the first - let your imagination run wild. We did:)


Have a great day!


Tuesday, September 14, 2010

Final version of another Ballet ATC

Few days ago, I've had a post about my experiments with different techniques on ATC for Ballet Series on Swap-bot. Here is a final take on another Ballet ATC.

Before


During


Final look.

I am pretty happy with my ballerina #2, even though the picture doesn't show the iridescence of pearl color and butterfly next to the word "FREE"" hard to see.

By the way, I already signed up for the next swap in Dance series - "Waltz"

Have a great day.

Monday, September 13, 2010

Styrofoam Stamps

I can't claim this genius idea and - shame on me, I don't remember where I've seen it but here it is - very simple, easy and fun.
You'll need Styrofoam Egg Carton - the lid will be used for the stamps and the base could hold the paint during your project.

First, you have to decide how big the future stamps will be. Mine were 1 1/2" x 1 1/2" (easier for little hands to hold). Then, you need to draw an image of your choice on a piece Styrofoam pressing hard. You can use a regular ballpoint pen without any ink.
Then, let the fun begin: using a brush apply a coat of paint over your Styrofoam piece with an image and press to a piece of paper - you've got your first print!


We've done some study while printing images:
1. We watched how different amount of paint affected the final results of a print.
2. We were counting the number of prints that we could get out of one paint application
3. We were observing how background can change the paint color. For example, blue paint on yellow background looks green
4. We were discussing a practical approach of this technique - we can make Gift tags.
5. We were talking about using Halloween Images and make some cards or decorations and etc.

(Note: All these points will be illustrated but my camera just died:( I will post them tomorrow....)

We had so much fun and I hope you will try this project as well.

Have a great day.


Sunday, September 12, 2010

More ATCs


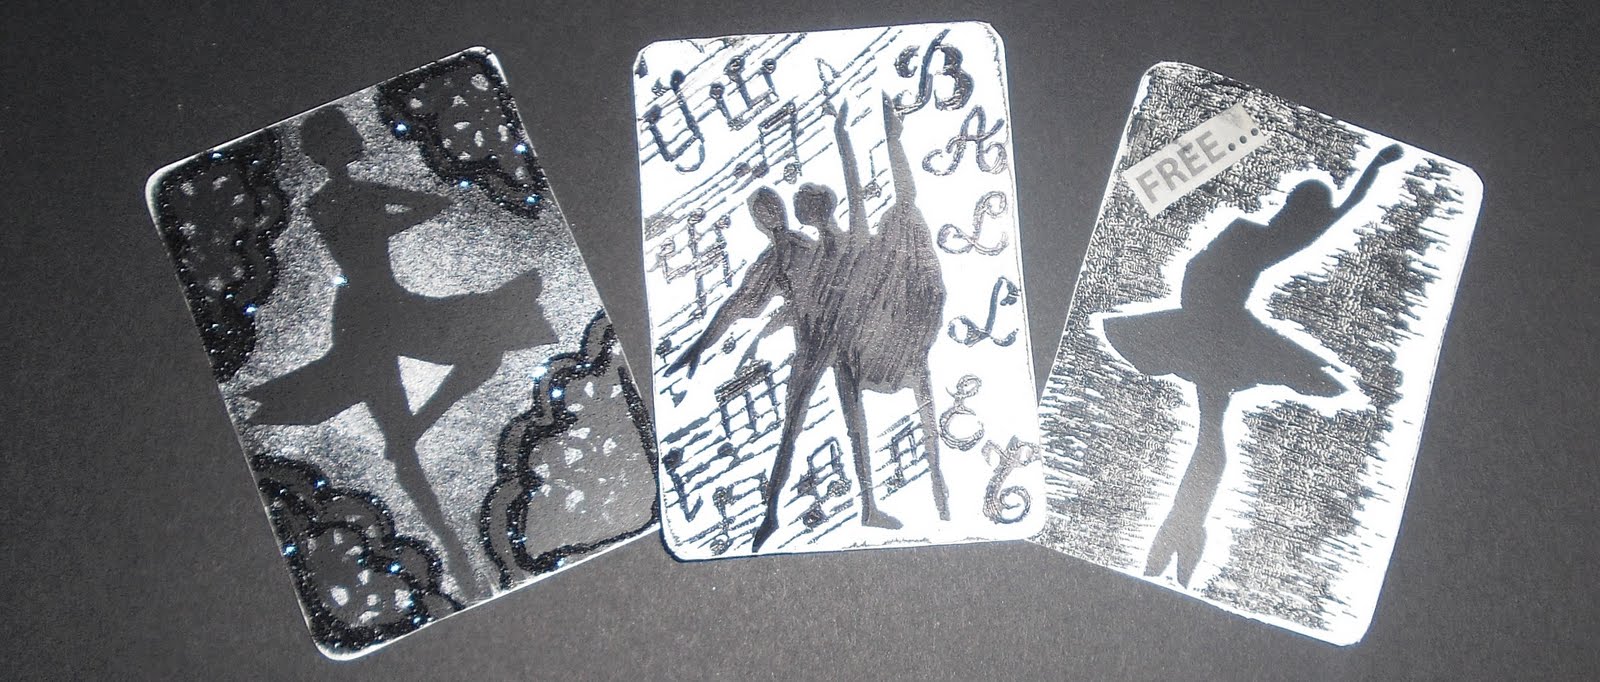
Here is a record of my experiments with different techniques on the same subject as my previous post: ATC Dance Series "Ballet" Swap#1


Scratching technique with less background showing


Scratching technique with more background showing


Stenciling with Silver Acrylic and Onyx Glitter

Now, I have to decide which ATC should be the one that I will mail to my swap partner.....

Have a great day.

Saturday, September 11, 2010

My ATC # 2

As I said before - ATCs are very addictive (which I don't mind), but most of all - fun. I am in 3 ATC swaps on Swap-bot.com for the month of September. This ATC is for Dance Series Swap#1 Ballet. Anything ballet related could be shown, and no limitation on technique - LOVE IT! In my mind - classical ballet is the ultimate symbol of beauty. I kept my card minimalistic with only two images: ballerina and the antique world map, and used the famous phrase of Dostoyevsky "The Beauty Will Save The World" (here is an interesting article illustrating this phrase)
I am having so much fun experimenting with different techniques:

Beginning of the process


Final look


It is hard to see on the final picture, but the card has tree main colors: black background, white letters and silver wash to highlight the images and distressing.

My next ATC will be "Iris" I already have an idea on what I am going to do. So fun!

Have a great day.